Inside the Story
Panoramic photography
I’m loving panoramic photography. For the last 3 years or so, I have been experimenting with this technique as the method to produce higher quality and larger size single images for print and web.
My digital camera captures single images for an area of 36×24 (FX format) and 24×16 (DX format), with a 240 ppi resolution and a sensor resolution of 36.3 MP. Setting these parameters as the media, considering the variety of digital cameras in the market today, a single image resolution and size will vary accordingly for non professional digital cameras and for higher-end professional cameras.

Why use panoramic photography?
Using the panoramic technique can help us improve the quality and size of our images. The quality of the image is improved as its resolution is increased by stitching several images with more pixel details of the subject. And consequently this leads to having a larger image when applying the panoramic effect. Panoramic photography allows us to capture wider areas in a scene by stitching overlapped shots, either horizontally or vertically, taken from point A to B within the scene (The Photographylife site has this excellent article about Panoramic Photography ). The series of photographs are stitched using photography programs such as Adobe Photoshop and Lightroom, I use Lightroom.
The panoramic photography process
1. Take a single image of the subject
This will help you visualize your frame and the edges for the panoramic movement, and for setting overall exposure.
2. Zoom in as much as you can
Consider your foreground, sides and top for your composition.
3. All Manual for best results.
Operating your camera in manual mode prevents fluctuations of your focus area, aperture, shutter speed and ISO, all these needed at same rate for each shot for best results when doing the panoramic takes. For best results set your aperture at or higher than f/8, ISO at its lowest level 100 or 200, and set shutter speed accordingly. These settings are for when light conditions are optimal, but if not then increasing your ISO will be your best option.
4. Shooting direction, horizontally or vertically, will depend on your vision and the subject
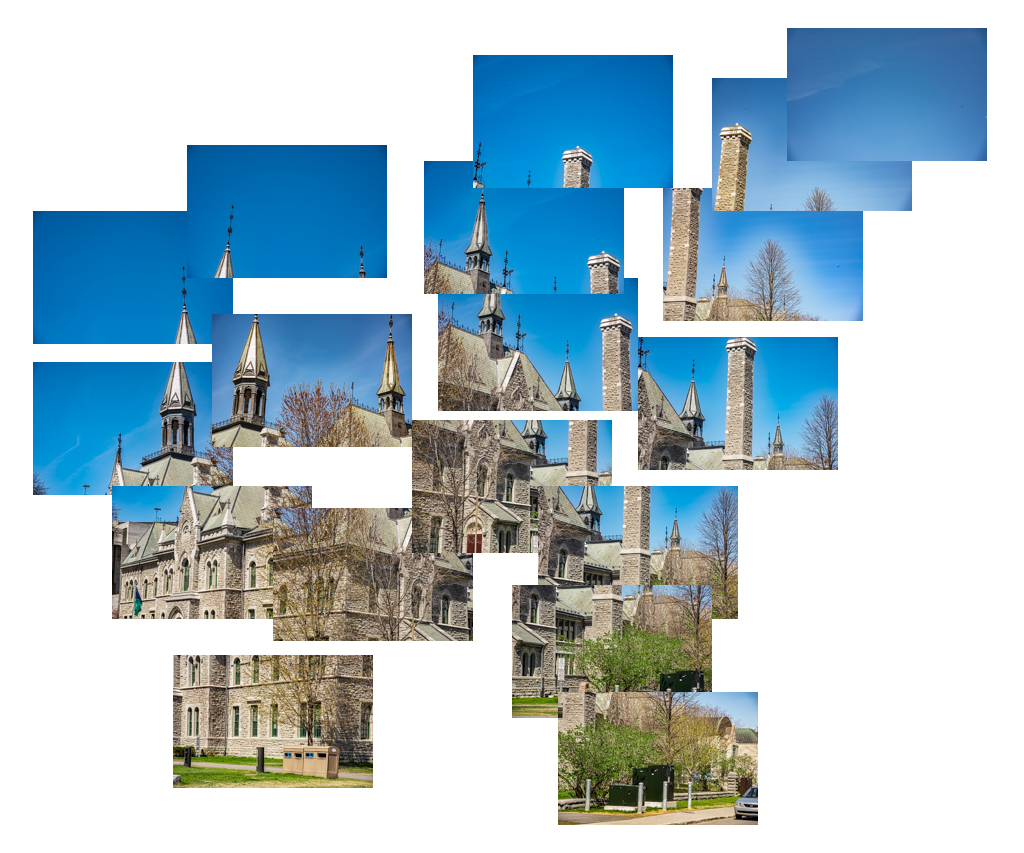
But whatever direction you choose it is recommended to have an overlap of the shots between 20% to 50%. The image bellow shows some of the images used for this example.
5. Be aware of moving subjects while shooting
Having a person, for example, walking into your scene and being captured several times during the process may affect the panoramic stitching. A similar situation may occur with moving branches or water du to windy conditions.
6. Process all the images with a photography program
Having a person, for example, walking into your scene and being captured several times during the process may affect the panoramic stitching. A similar situation may occur with moving branches or water du to windy conditions.

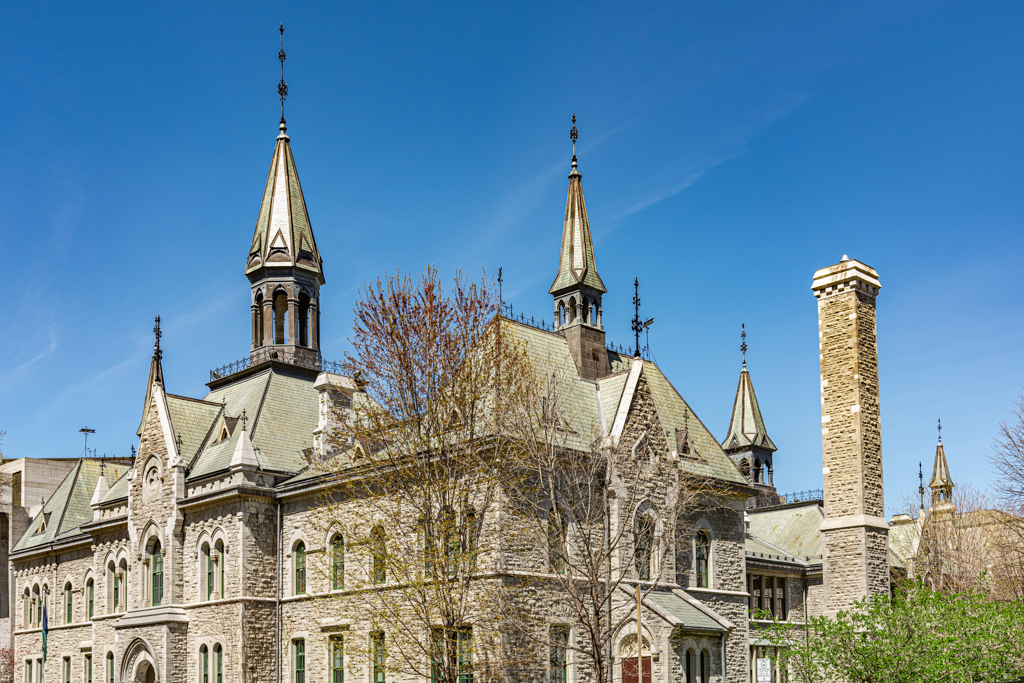
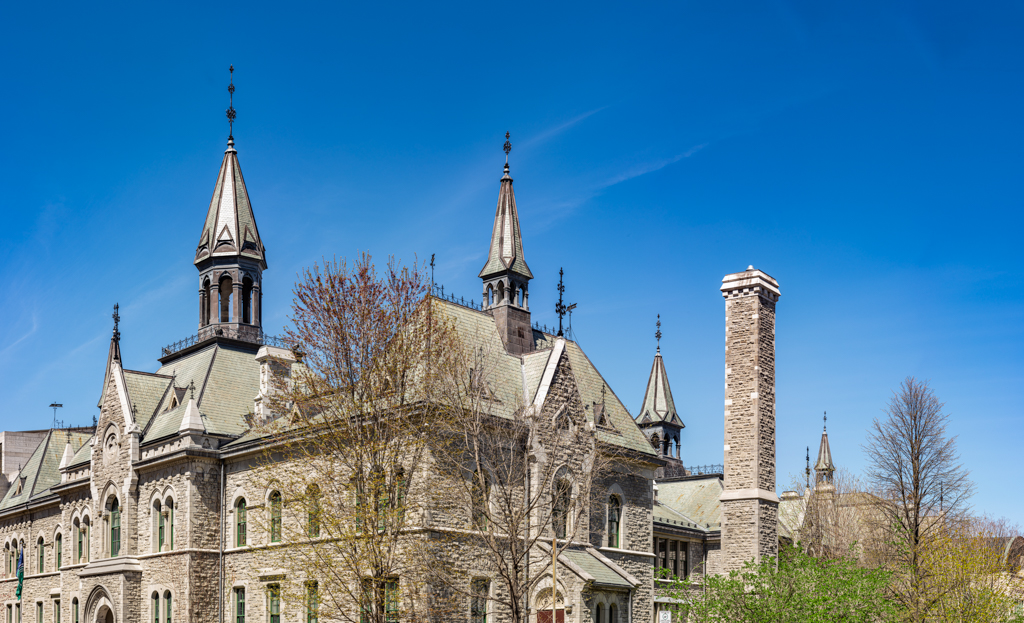
For this example 60 single images (above) were taken and stitched into a panoramic image (bellow) to create the final panoramic single image (PSI). In comparison with the single image, the size of the PSI increased by more than 50% and the details of the subject are much more defined.


